1976 Porsche 911S Restoration
Being an Australian-delivered matching-numbers car that survived unmolested to date, the brief was to keep the specification sympathetic/original. But allow personalisation in the details where reasonably ‘bolt-on’ and straightforward to reverse.
The overarching philosophy was to keep the look clean, simple, and period-correct.
The process was a great exercise in coordinating activities (and wonderful specialist experts), sourcing unique components, and breathing new life into a scruffy and somewhat ‘tired’ car that held cherished memories.
The design element was about defining a philosophy, specifying details to express it, and masterminding the execution. Key was learning about the parts supply chain, expert specialists, and communicating requirements clearly in order to get everyone working in harmony toward the agreed goal.
The ‘easy bit’: Stripping it down to the bare shell. Definitely a feeling of being committed.
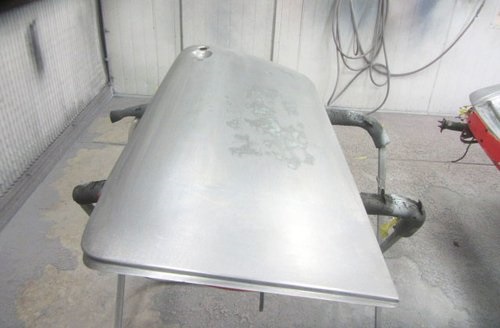
As any good painter knows, this is the critical stage. Getting the metal fair, true, and free of contamination is the only way to make sure the primer and paint will adhere properly and be visually flawless.
Old hand-built cars also need creativity and patience in finessing the panel gaps and shut lines.
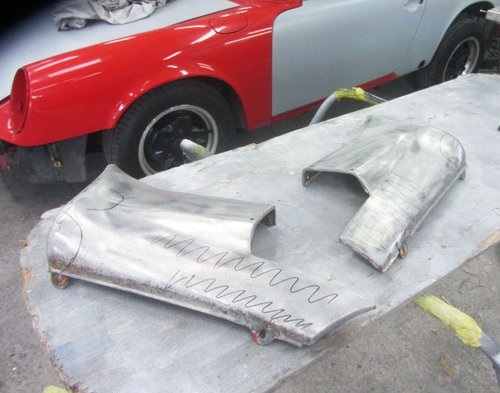
Lots of fiddly bits around the bumpers. Some time spent here with a file and hammer saves filler and headaches later.
Notice the scribble marks intended to guide in the straightening/fairing process. As the surface is filed, they should disappear evenly.
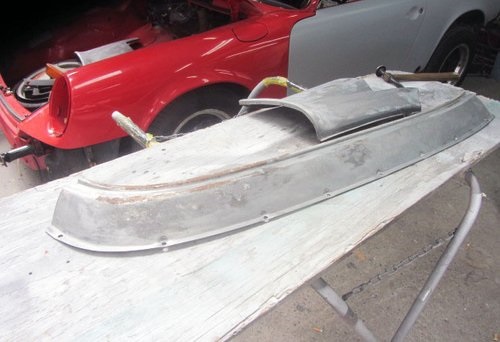
Probably the low-point! With the car looking rather sorry for itself, it would have been easy to be daunted at this stage.
We had pieces being machined at different mechanical shops, seats being upholstered across town, panels everywhere, and boxes of parts lying around.
The night being darkest before the dawn… It was important to remember that the foundations laid down now will determine the success of every step to come.
Shiny! Base, clear, much wet sanding, more clear. Repeat… Getting a ‘showroom’ finish is about patience, hard work, technique, repetition.
There’s some debate about using base + clear and spending the time to obtain a finish that is superior to that achieved at the factory in period (given the technology and cost constraints of the time).
In the end, it’s an arbitrary call. Despite purists disagreeing, our decision was to strive for the best, on the basis that it reflects the state of the craft (something consistent with the brand’s philosophy). Besides, it’s easy to tone down the finish if anyone should be so inclined.
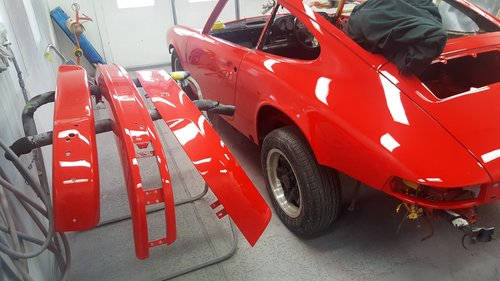
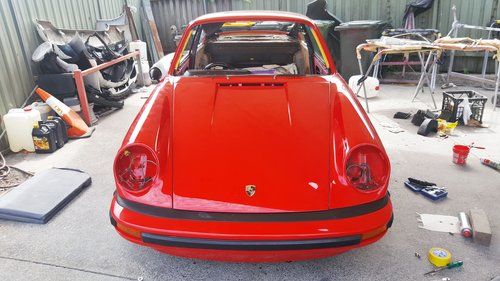
With masking tape off, the challenge is to preserve the paint finish through all the remaining processes of reassembly.
Heartening when yummy ‘candy apple’ reflections starting to show, before final cutting and polishing (left to the end).
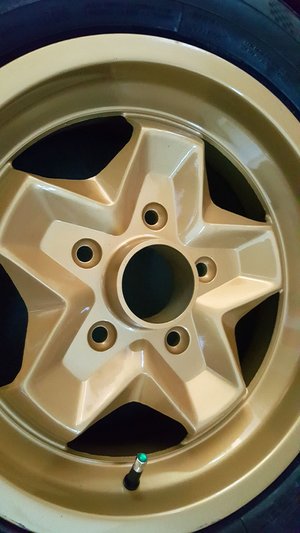
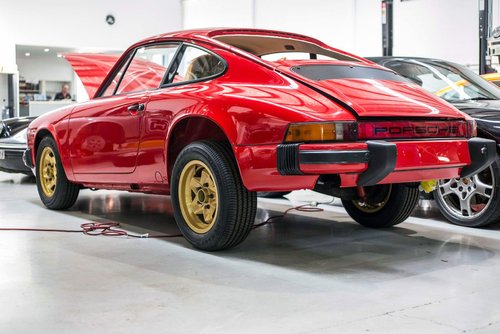
Wheel choice was a vexed one. These are the original ‘cookie cutters’ that came with the car. Considered swapping to Fuchs (that were an option in period), but also wanted something more unique.
The original finish on the wheels was a two-tone. Centres were anodised (not painted) black, and the rims machined back to polished bare aluminium.
Replicating this finish would have required precision masking (if the black were to be painted – which would not be correct) or machining after anodising. Both options being deemed cost-prohibitive.
So the next option was to pick a solid painted colour.
Gold seemed a choice consistent with the spirit of the project. The specific colour was sampled on the nose badge that has some 40 years of weathering and echoes period magnesium racing wheels.
It goes with red, is a bit unusual, has connotations of period racing etc.
Choice of rubber was another interesting one, and very influential on the look, stance, character of the car.
We wanted a retro ‘balloon’ look, rather than modern low-profile aesthetic, so we specified the highest aspect-ratio compatible with narrow body fenders (keeping in mind the period street car ethos of this project – as opposed to more ‘pumped-up racer’ looks which seem to be commonly preferred in restomods).
Though the look is retro, the compound is modern and sidewalls relatively stiff, so handling should be better than stock.

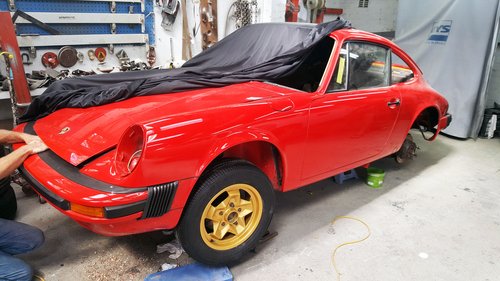
Not just over the hump, but decidedly looking like the finish line is in sight…
Starting to come together. At this stage some big visual differences happen quickly (panels on, wheels on). But there are still many small jobs to get through.
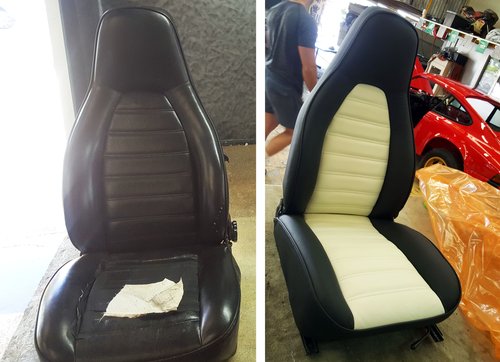
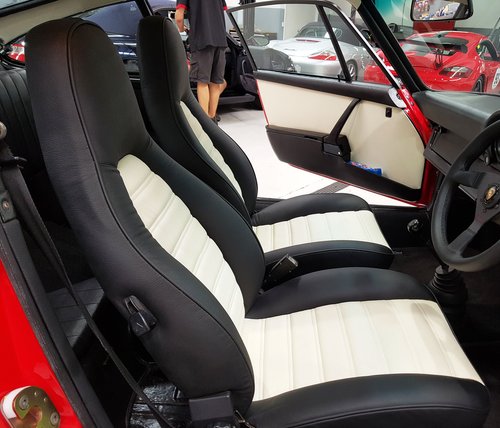
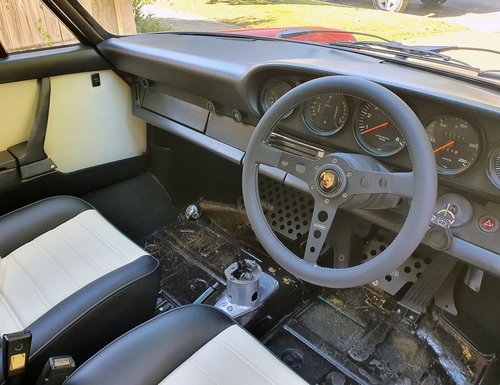
Seats before and after. Stuck with the original ‘tombstones’ (again, favouring the street car look instead of heavily bolstered or retro racing seats), but added white leather inserts to brighten up the interior.
Original spec for the car included beige inserts, so pretty close, respecting the car’s historical significance (the black had been done sometime in the ‘80s).
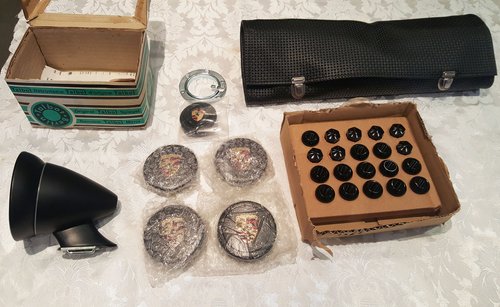
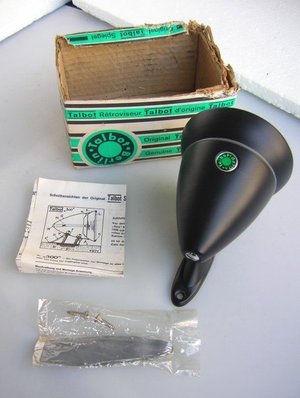
New old stock black Talbot ‘green dot’ bullet mirror. Found (after much searching) on some dusty shelf in Germany.
The idea being to go for a period-correct lightweight replacement for the rather ugly rectangular ‘flag’ mirrors (this car being the first year that adopted them – and only featured a mirror on the driver’s side).
Talbot mirrors were used on Mercedes Gullwings among other illustrious cars. Finding one in black was particularly challenging (most are chrome which wouldn’t have worked with this car’s blacked out window frames).
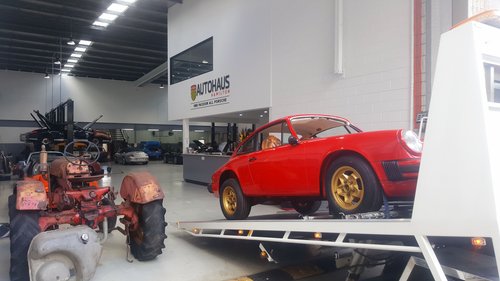
Another big day! Delivered to @autohaus.hamilton for mechanical assembly.
Notice the survivor Porsche tractor awaiting restoration.
And so begins mechanical reassembly.
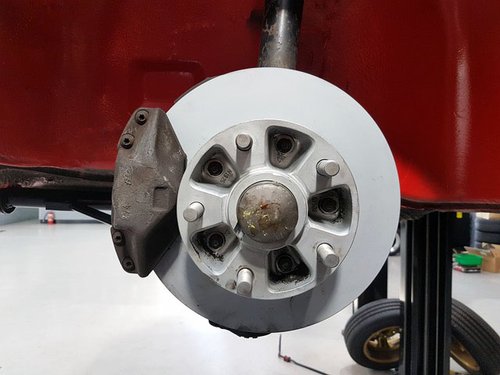
Was worthwhile replacing all the bushes, refurbishing all suspension components, and upgrading to Turbo steering rods.
Callipers since refinished by Atlas AutoBody.
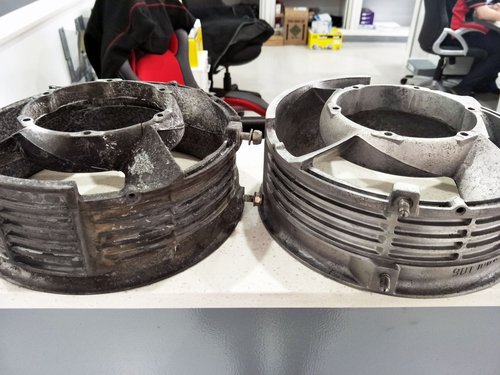
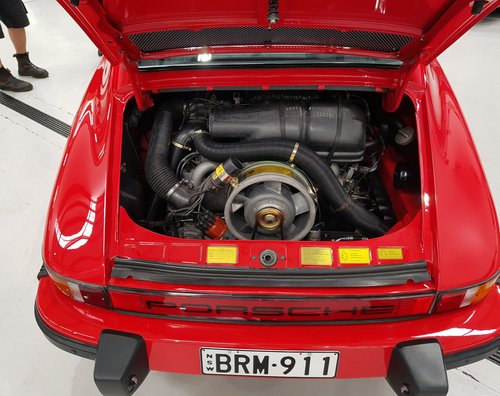
And just like that, the ‘hairdryer’ is back.
Rebuilt internals and gearbox on the inside, newly plated hardware and fasteners on the outside. A crowded but tidy engine bay.
Again, resisted the temptation to go to carbs and the like in the interest of originality.
And after all that, the day finally came for a shakedown drive.
And after all that, the day finally came for a shakedown drive.
Last stop was High Definition Detailing for that final (but crucial) cut, polish, and ceramic coating.
Always amazing how visually impactful a careful paint correction can be. Gets rid of that last bit of orange peel, micro scratches, and other imperfections, to lift the finish so it properly pops.
Definitely a fun project, and an interesting insight into the then rapidly growing world of 911 restomods.
There have since been countless iterations from a proliferation of builders, ranging from obsessively high-quality backdates to obsessively correct true restorations (obsession being the common theme).
This car has since done many miles and continued to be fettled and maintained with love.
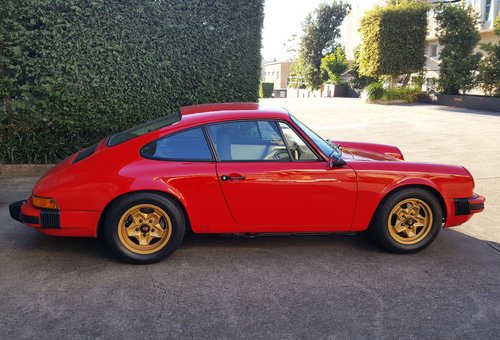
Below left is a pre-restoration pic. The two final pics show its current guise.
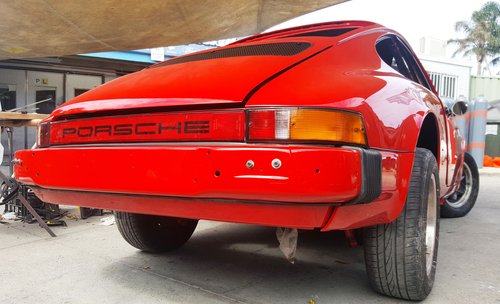
Small bolt-on changes like leaving off the sill rubber trim, backdating the mirror to a period racing one, and simplifying the engine grille, have disproportionate visual impact, tying together the clean ‘candy/toy’ look of a special little car.